Welcome to Ribble Valley Arts
Discover what’s happening across our creative community — from exhibitions and workshops to performances, venues and local talent.
This Week in the Ribble Valley
Find a selection of workshops, exhibitions, performances and community events.
View full What’s on Guide
Explore the Creative Community
Discover artists, makers, venues, exhibitions and creative organisations across Ribble Valley.
Knowle Top Studios
Galleries – Clitheroe About Knowle Top Studios Knowle Top Studios is home to the photography of…
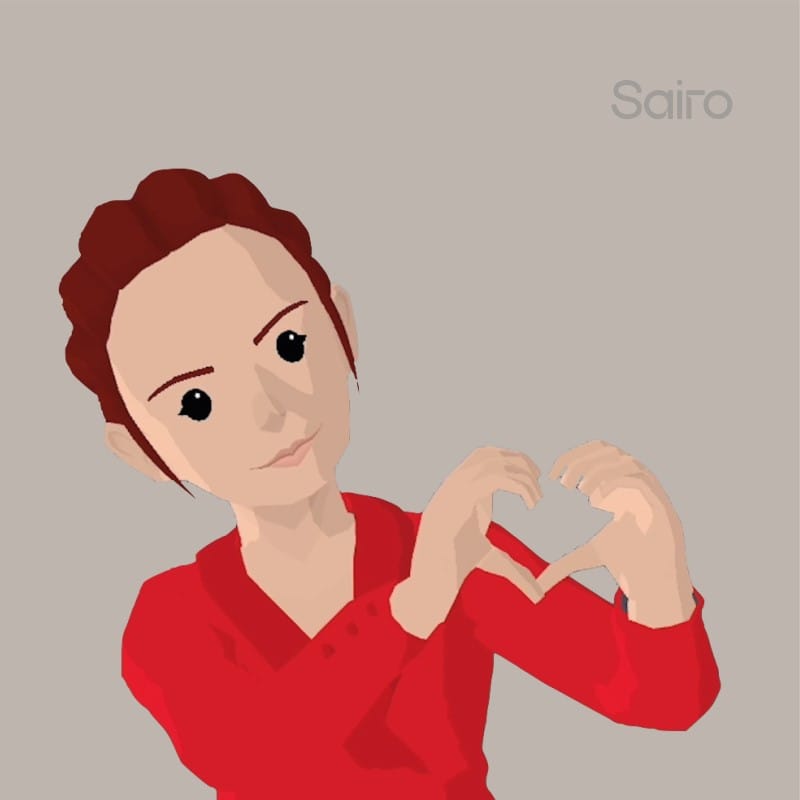
Sairo
Design – Ribble Valley About Sairo Sairo is a creative agency building bridges into WEB3…
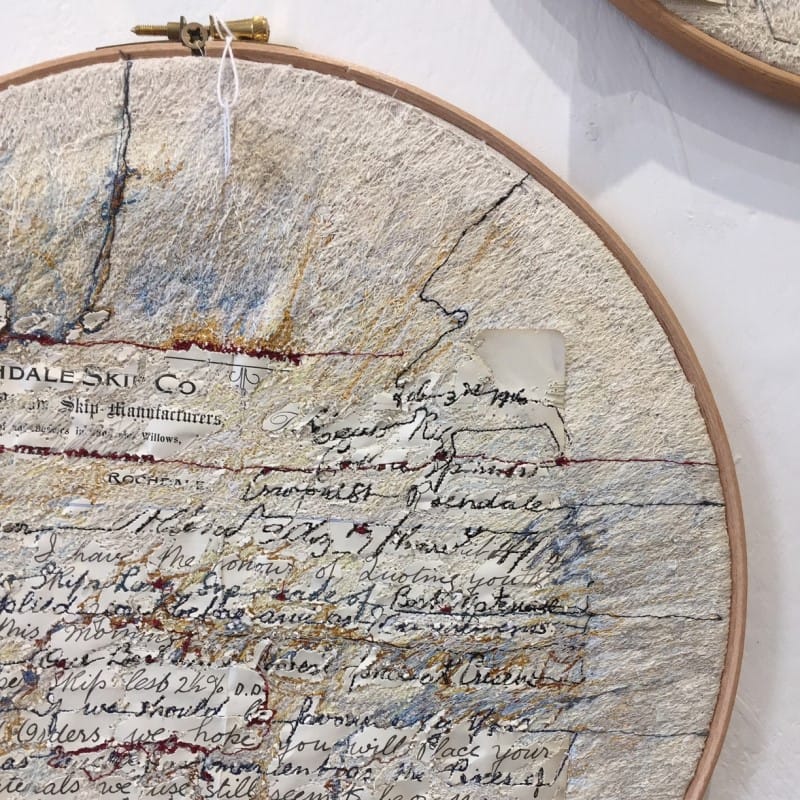
Sharon Brown
Craft – Ribble Valley About Sharon Brown “As an artist I am fascinated by archival…
View full Directory
Creative Spotlight
Meet the artists, and organisations shaping our creative landscape.
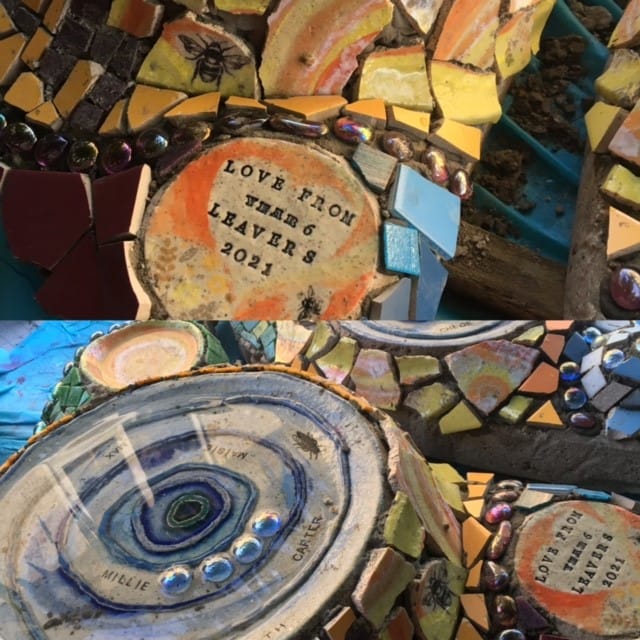
Grin Pins
Fine Art – Grindleton About Grin Pins Working under the name of Grin Pins, Emma…
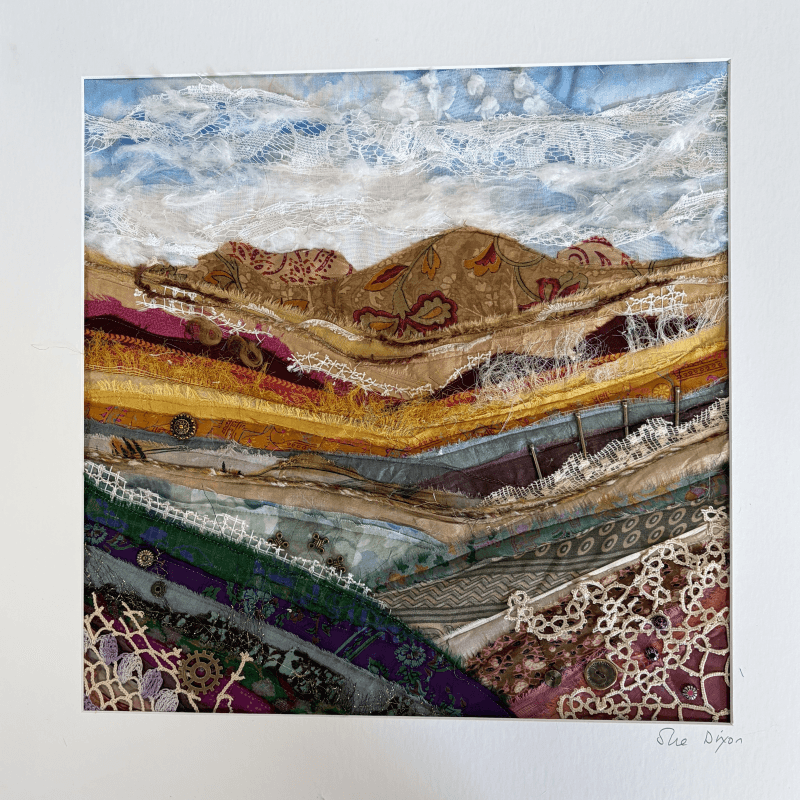
Sue Dixon Textiles
Classes and Clubs – Forest of Bowland About Sue Dixon Textile Artist I’m Sue Dixon,…
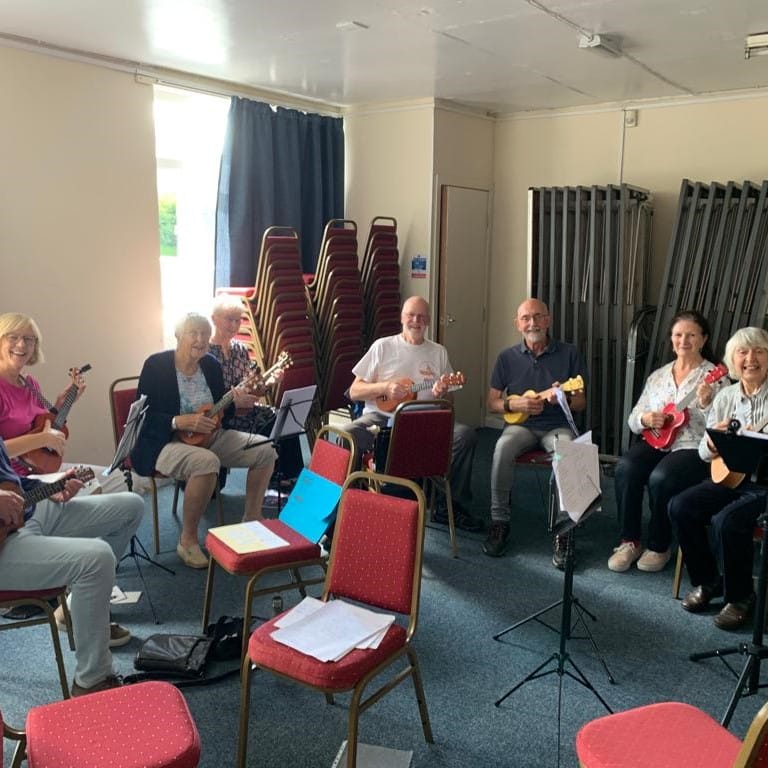
Longridge U3A
Classes and Clubs – Longridge About Longridge U3A Longridge u3a was formed in April 2014…
Discover more Creatives
Host an Event?
Share it with the Community
Add your exhibition, workshop, performance or cultural event to our What’s On guide